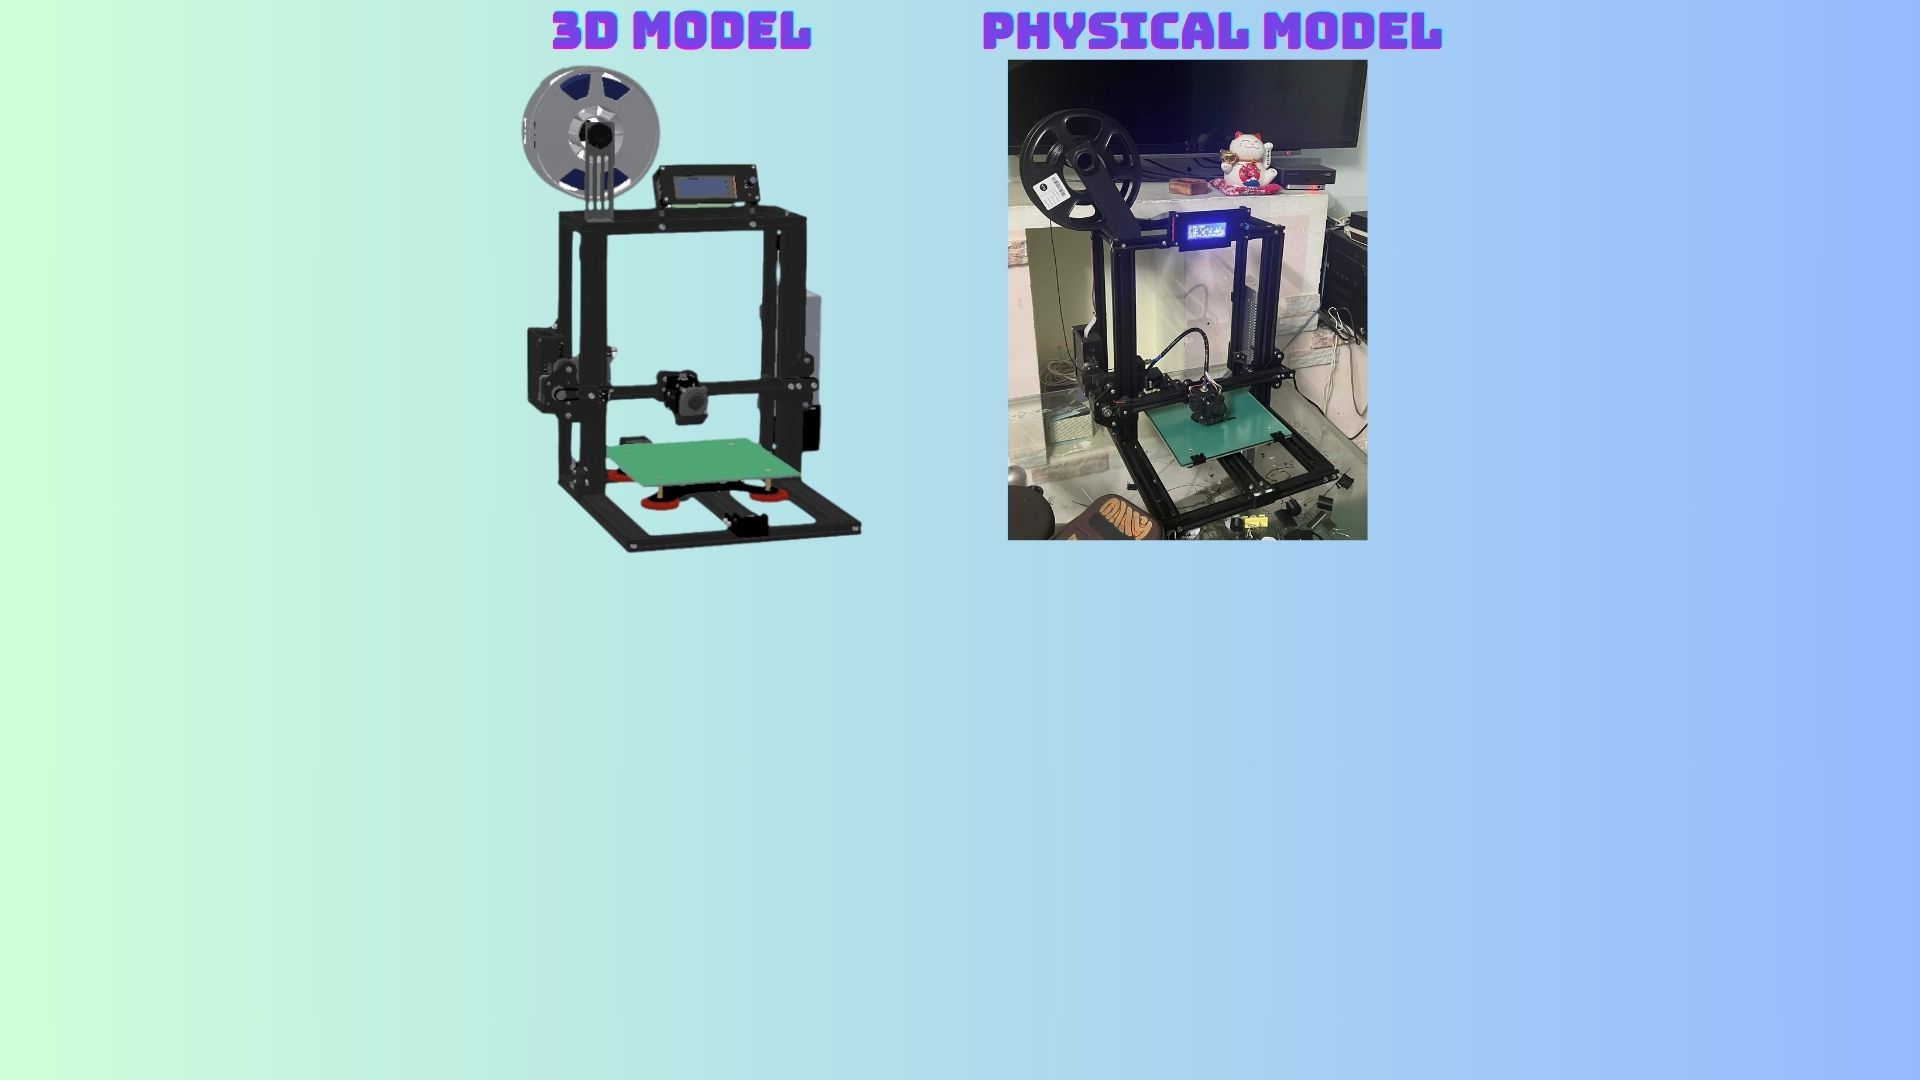
Objective: Why a new 3d printer?

Initially, the 3D printer available in Vietnam within the $200 price range in 2021 lacked dual lead screws for the Z-axis. This resulted in a critical issue where the X gantry without the lead screw would tilt downward. Consequently, the X gantry no longer maintained parallel alignment with the bed surface.
Furthermore, during that timeframe, 3D printers were suboptimal for running a 3D printing farm due to challenges in finding replacement parts. However, having a 3D printer constructed with open-build components makes it much easier to replace parts in the event of malfunctions.
In conclusion, this presents a valuable opportunity for a second-year mechatronic student like myself to delve into additive manufacturing technology. It allows me to gain hands-on experience in configuring firmware and mastering 3D modeling with SolidWorks.

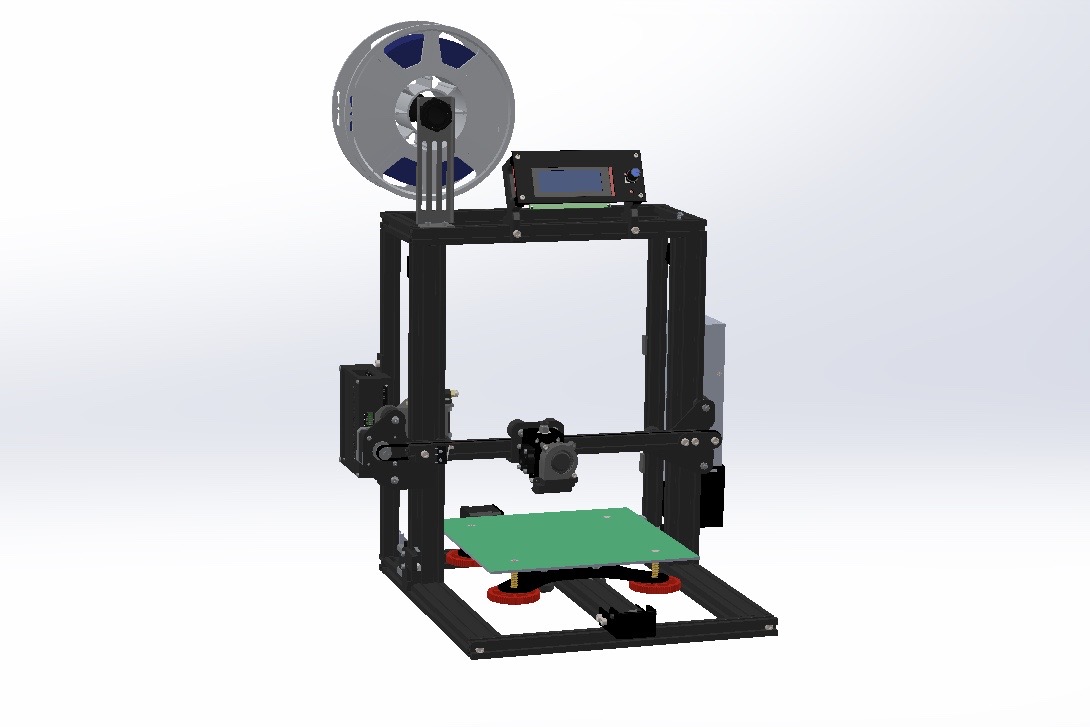
Step 1: SolidWorks modeling

  • In this stage, I have applied reverse engineering to take the dimension of my current 3D printer which was Ender 3 V2. I have adjusted the dimension to fit with the size of the heated bed that I bought on Aliexpress. I also add two support beams at the back of to make the 2 Z axis beams more rigid. The cover box for the electronics and the power supply are also mounted outside for easier to maintain (Design for manintainance).
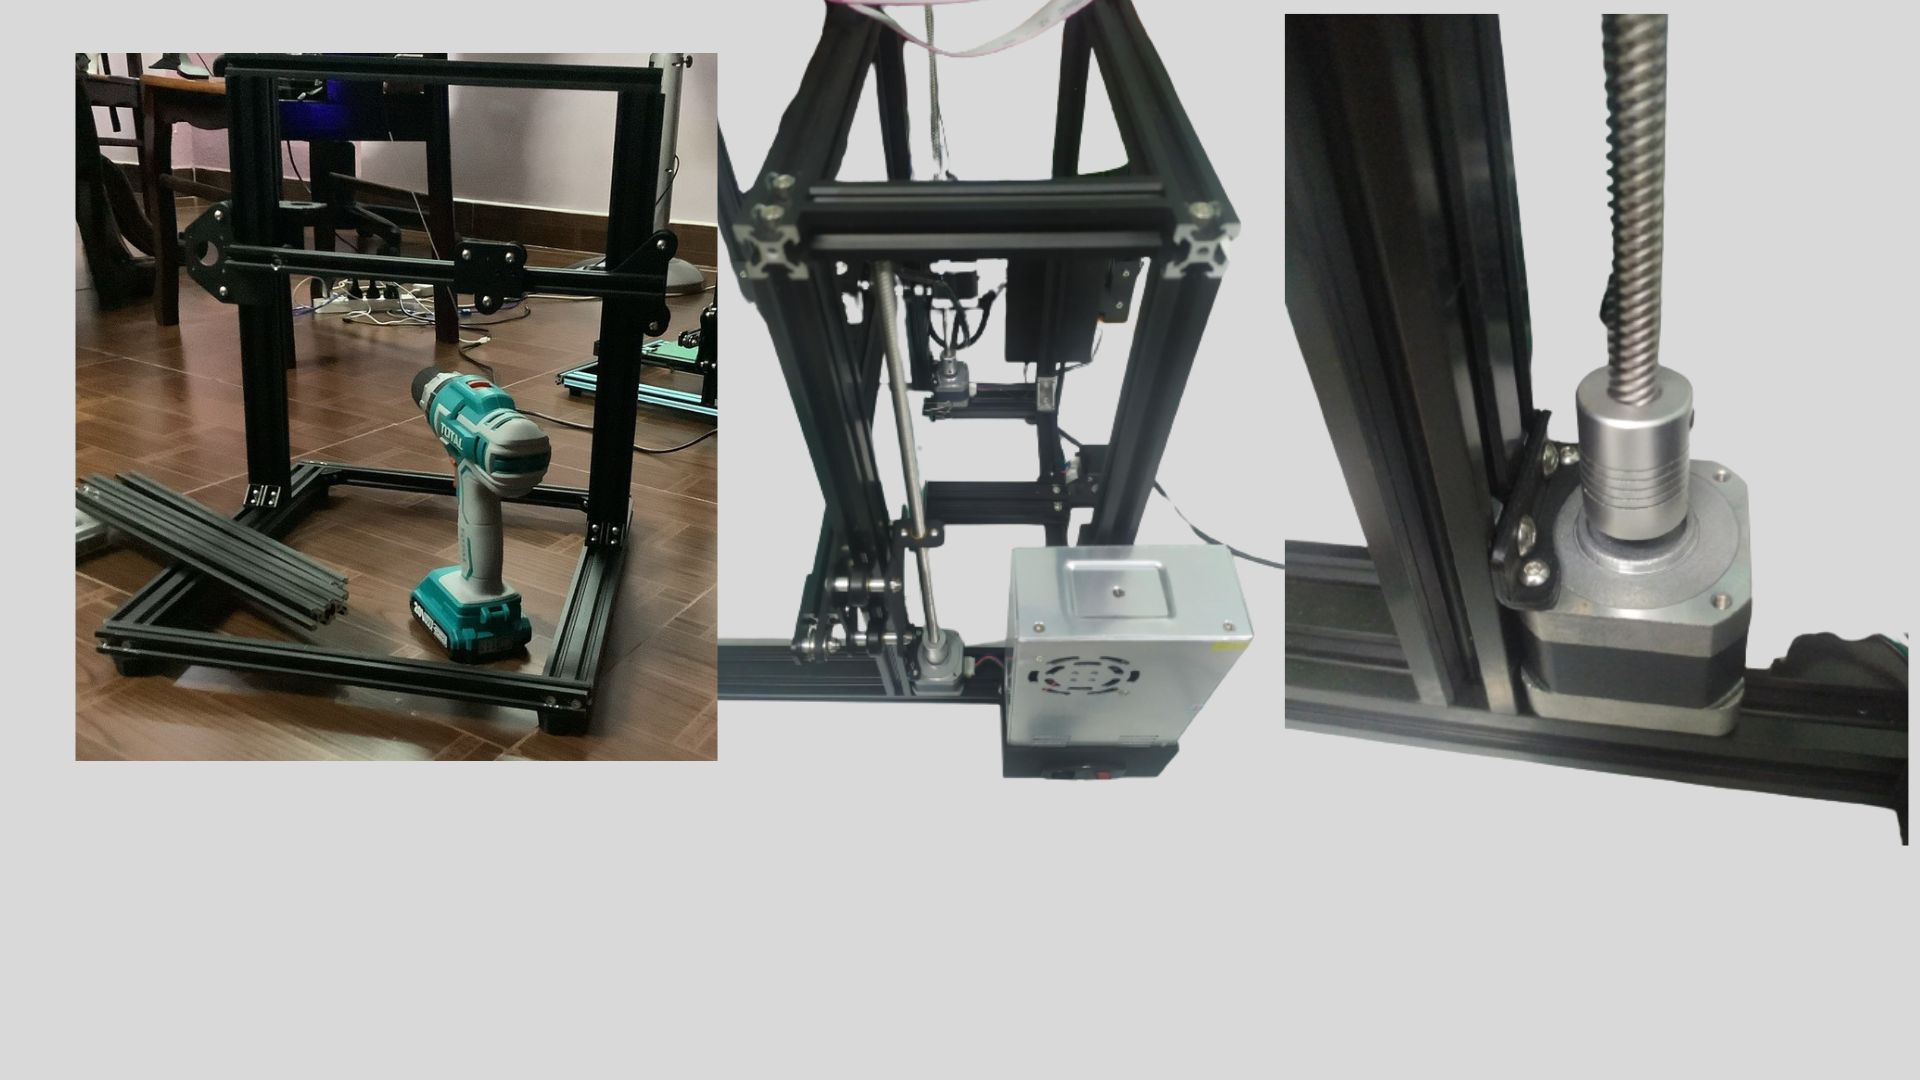
  • Step 2: Start building the frame
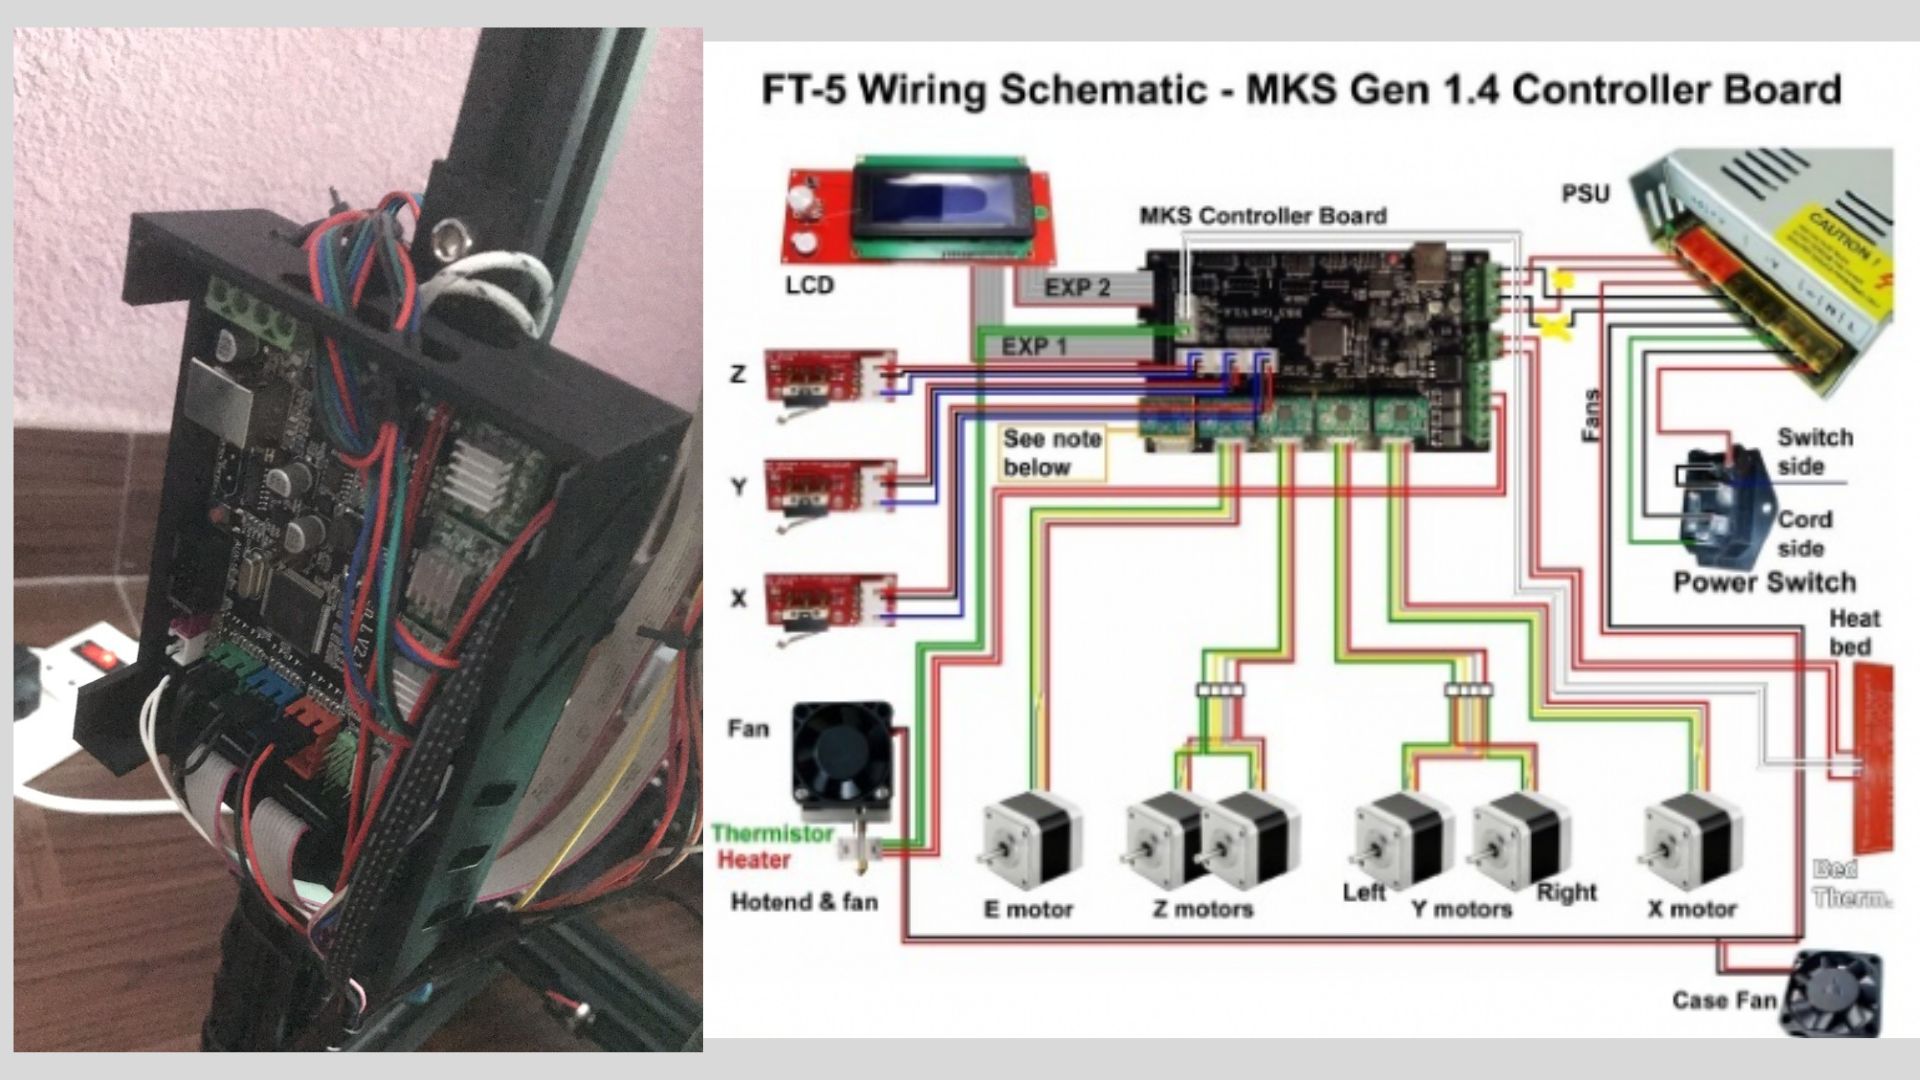
  • The 2020 and 2040 aluminum profile extrusion are used to make the frame
  • Metric hex bolts are used with fastened with tap holes inside the aluminum extrusion.
  • I used the torpedo level to make sure all of gantries are parallel and perpendicular together.
  • Step 3: Wiring

    In this step, I need to wire these components:

    • 1 stepper motor for X gantry
    • 1 stepper motor for Y gantry
    • 2 stepper motor for Z axis
    • 1 thermomistor, 1 heater, 1 layer fan, 1 heatsink fan
    • 3 mechanical endstops
    • 1 LCD screen
    • 1 PSU

    Step 4: Configure and upload the firmware with C++

    I used the Marlin firmware 1.1.9 which is the opernsource firmware for 3D printer. Although the firmware is already had, I still need to adjust some configuration to fit with my own hardware on my 3D printer such as:
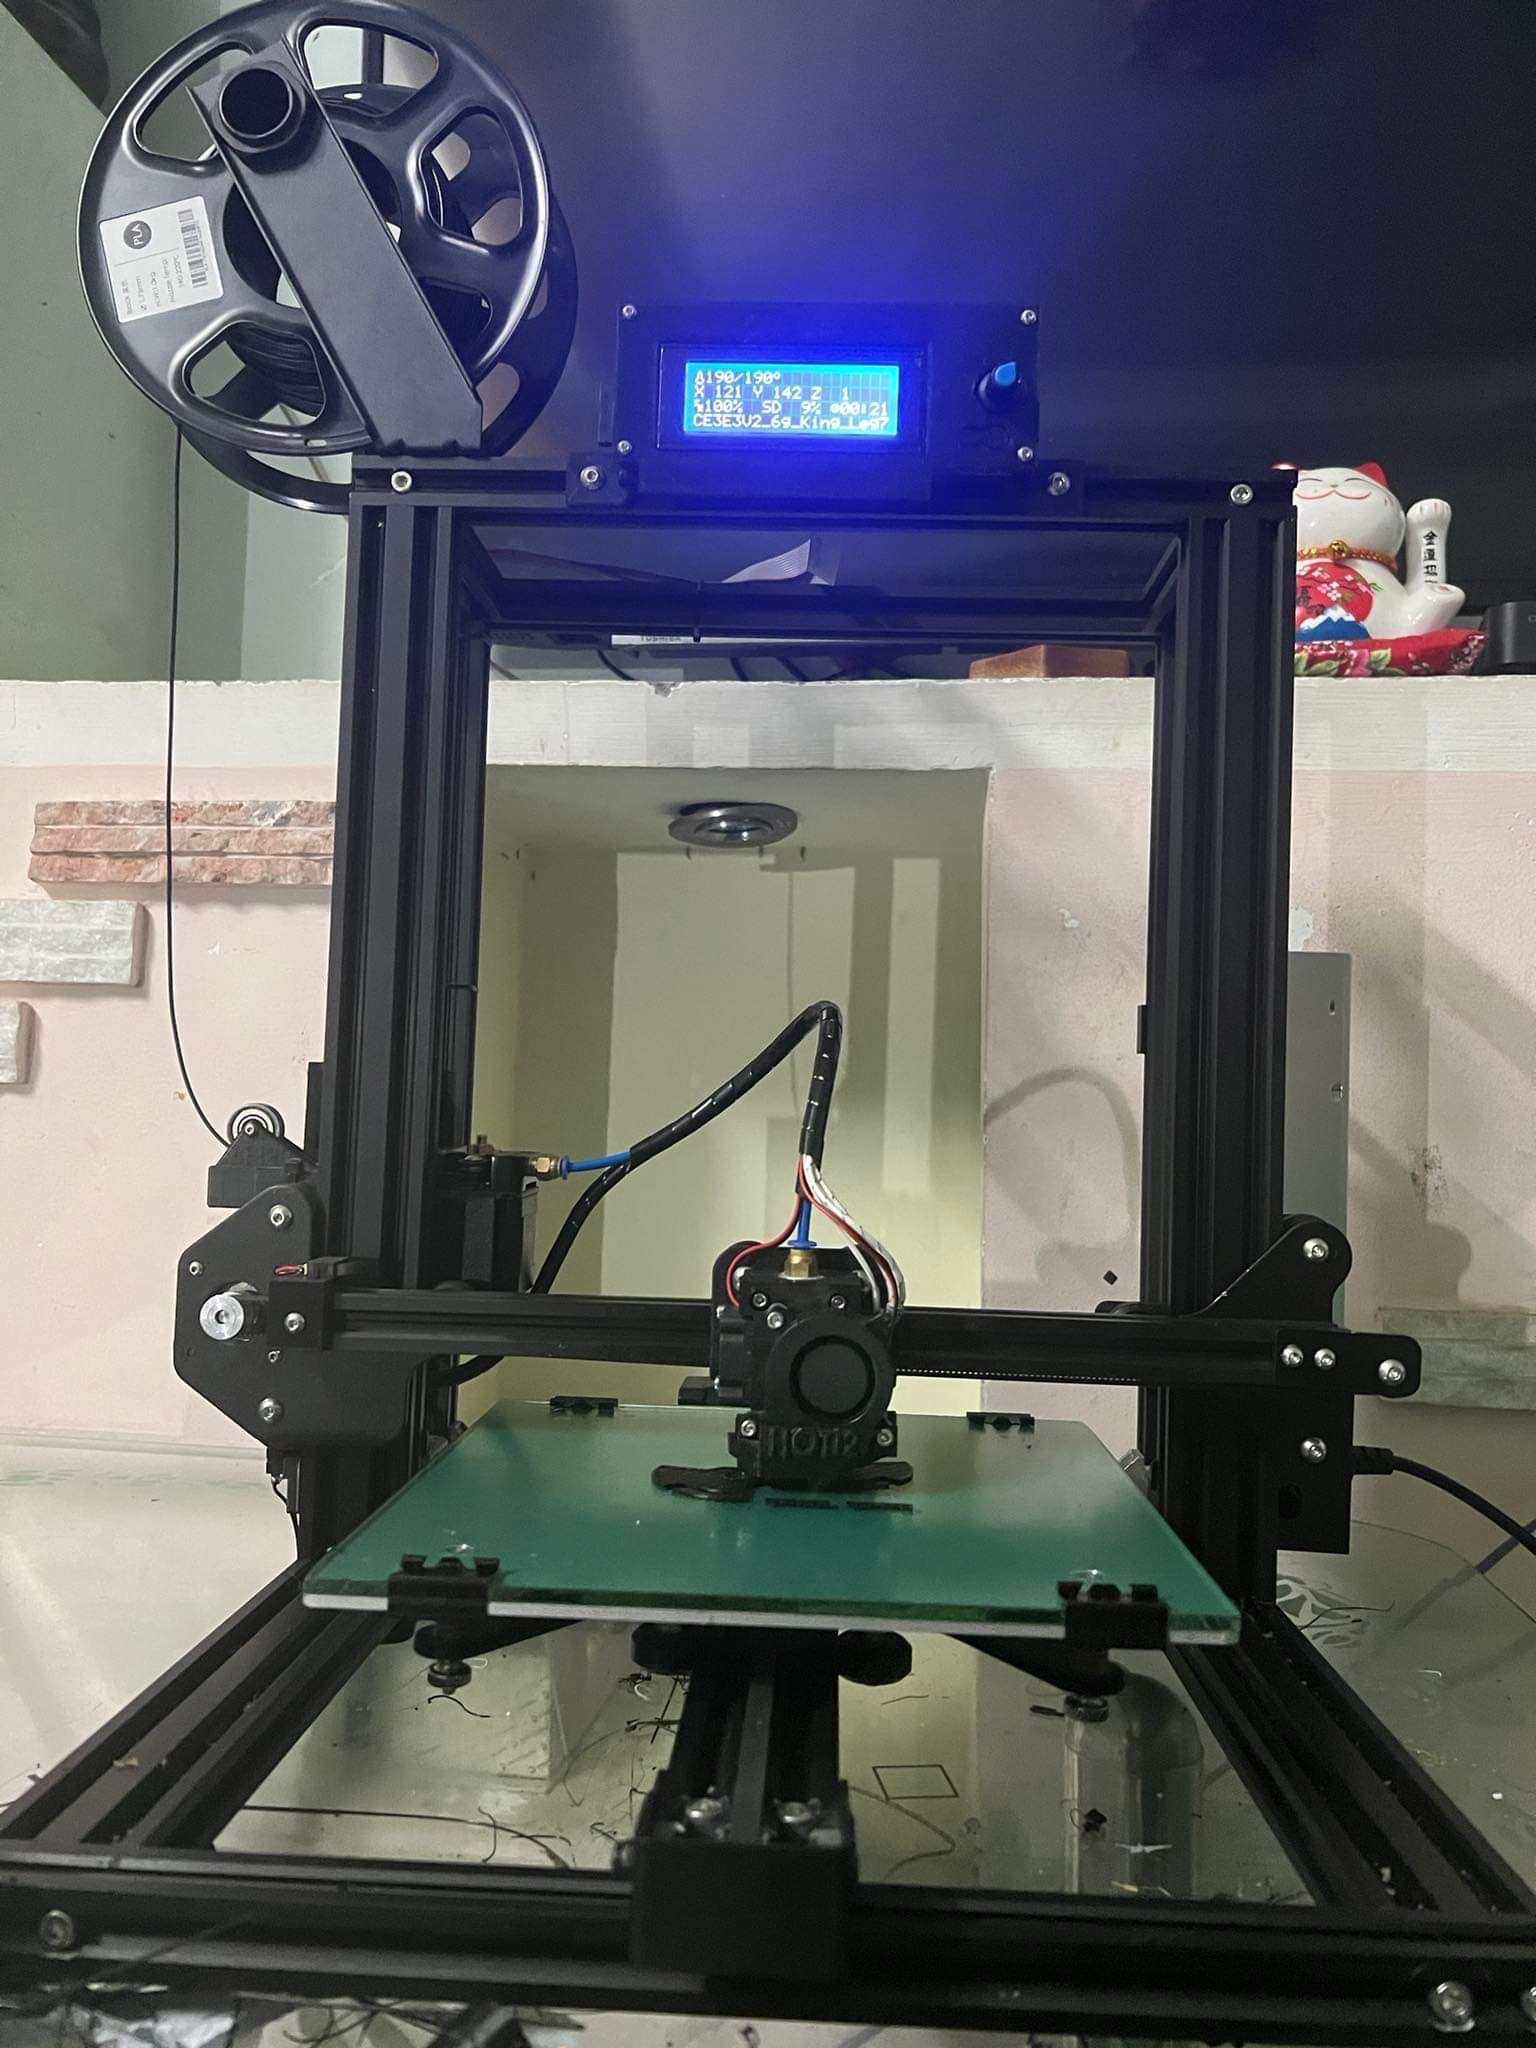
  • The type of driver for the stepper motor: A4988.
  • The microstep for the drivers.
  • The logical state for mechanical endstops.
  • The number step per milimeter for the stepper.
  • The type of the LCD screen that we used.
  • The maximum acceleration and jerk for the motor.
  • Final result

  • The printer worked reliably around 8 hours a day for more than six months. After six months, I need to replace the nozzle and the layer fan for it as most of the time I print PLA so the fan need to be always turn on so it usually make some weird noise when it work in a long time.
  • Normal printing speed: 45mm/s and 1000mm/s^2 acceleration.
  • The bed adhesion is very good with the 60 degree on the heated bed.
  • The precision of the print is about +-0.1mm.
  • The stepper was not missed step while working.
  • Test print images

  • Most of the prints show that the quality was very smooth, due to the fact that the Z axis were rigid and straight (no wobble) all the time so the consistency between each layer can be maintained very well.
  • I tested it to print at 50mm/s with Black PLA filament at 200 degree for the nozzle and 60 degree for the bed.
  • The bed adhesion is very good with the 60 degree on the heated bed.
  • The precision of the print is about +-0.1mm.
  • The stepper was not missed step while working.